Artist : Painting Details In An Oil Painting
For your painting to be considered ‘finished’ …
There are many details in your painting that you will want to address once you have executed the major elements & subject(s), including items like: hair, grass, clothing components… such as buttons or seams, and textures; such as the grain in the wood of a boardwalk, beach sand, or shrubs & tree bark…to name a few.
One of the fundamental methods used in creating an oil painting that has elements that appear as realistic as possible, is in choosing the correct type of brush. Size & type of bristle, the type of ‘stroke’ that is used, as well as having the correct amount of paint on your brush; are the keys to success when creating details.
Using the right type of stroke, is essential to the outcome of your details. Considering the details you want to create, their shape, size & texture, will help you determine which brush to choose. Once you have chosen the appropriate brush, assess the colors that you see in your photo & how you want them to look in your painting. Are they too dull or bright? With oil painting, you can control the color intensity & value of these elements; as you can with other larger components.
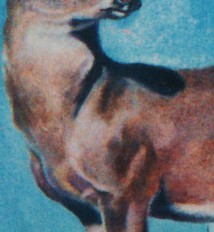
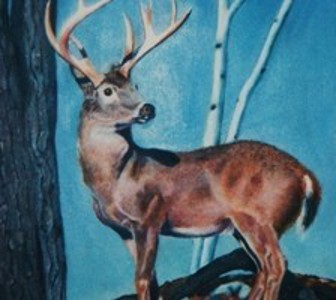
Another aspect that affects the outcome of details; (related to one of the earlier items I mentioned), is the amount of paint you have on your brush. Certain effects can be rendered by using a brush that is almost completely dry, (referred to as, ‘Dry-Brush’ technique). For this effect, I wipe most of the paint I have initially put onto my brush, in order to achieve the details in elements such as; blades of grass or of an animal’s fur. I have found that the best choice for this is a ‘fan’ brush. See my post on “Brush Selection“ to learn more & to find a link to where you can purchase that & other types of brushes, from an Art Supply Website.